Settings Tab
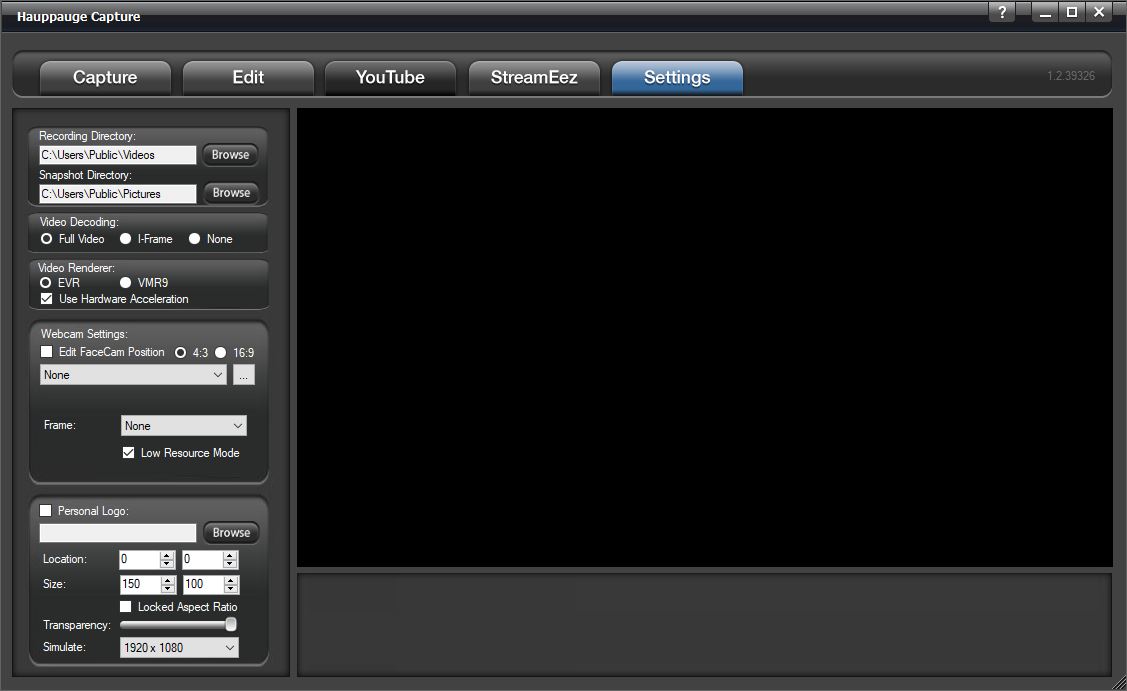
Recordings Directory: Default location listed. You can change the video directory here.
Snapshot Directory: Default location listed. You can change the snapshot directory here.
Video Decoding:
Full Video: video preview will show all frames of the video.
I-Frames only: video preview will only show I-frames (every 2 seconds of video) use this setting to help smooth out the preview on slower systems or low-end graphics systems.
None: No preview at all. Video will still record and audio will be heard.
Video Renderer:
EVR or VMR9: Specifies the video renderer to be used. The video renderer is a software interface to your display adapter. Changes take effect after restarting the application.
Use Hardware Acceleration: This will allow your graphics system to use hardware acceleration for video decoding.
Note: Graphics hardware acceleration does not work on all systems. It is a feature of your graphics chipset. Use this feature to help the preview video if it is not smooth.
Webcam
You can select from the dropdown menu your webcam to use for the FaceCam option. It would be placed above your video.
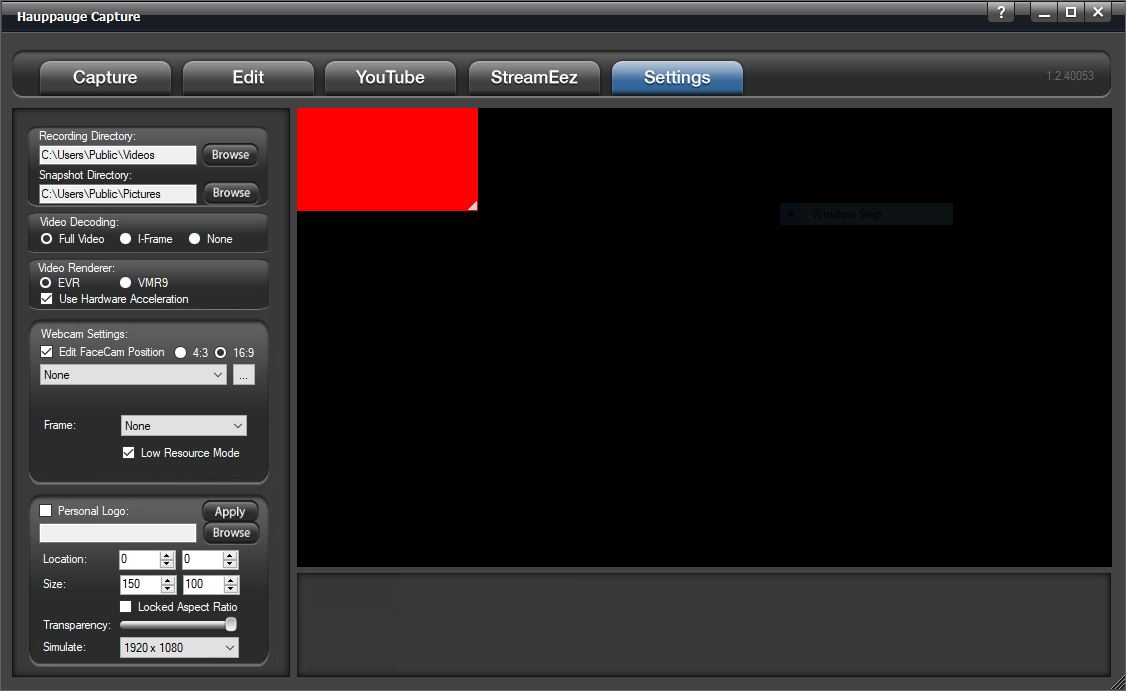
Edit FaceCam Position: Check this box to be able to move the FaceCam window on the screen. You can also select if you want the screen to be in 4:3 or 16:9 ratio.
Frame: The dropdown gives you multiple styles of frames to use around your Facecam Video.
Low Resource Mode: Save CPU resource when FaceCam is ON. Sets Video Decoder to "I-Frame" so it only shows 1 frame every second and also reduces the encoded video quality to say 720p30 instead of source.
Personal Logo
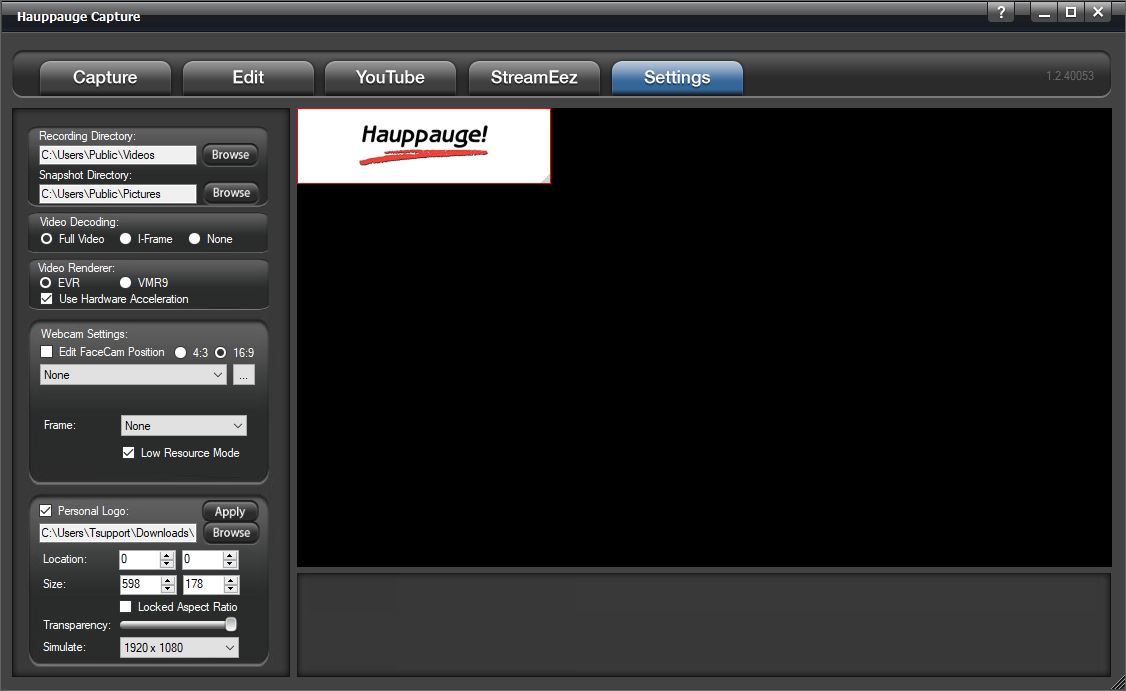
You can use the Personal Logo to add a personal logo or picture to your recordings.
Personal Logo: check the box to turn on/off the personal logo.
Click the browse button and locate your file then select it and it will appear in the upper left of the video window.
Location: select the position for your logo on the screen. You can also move around with your mouse.
Size: Select the size for the personal logo on the screen. You can also drag in and out with your mouse.
Transparency: adjust the transparency of the image using the slider.
Simulate: drop-down and choose the resolution in which you will be recording. This will size the image to that resolution.
When finished click Apply and the settings will be stored.