StreamEez
StreamEez will let you Stream your video with Facebook, Twitch, and YouTube.
Using StreamEez
Note: you must have a valid account with Facebook, Twitch, or YouTube.
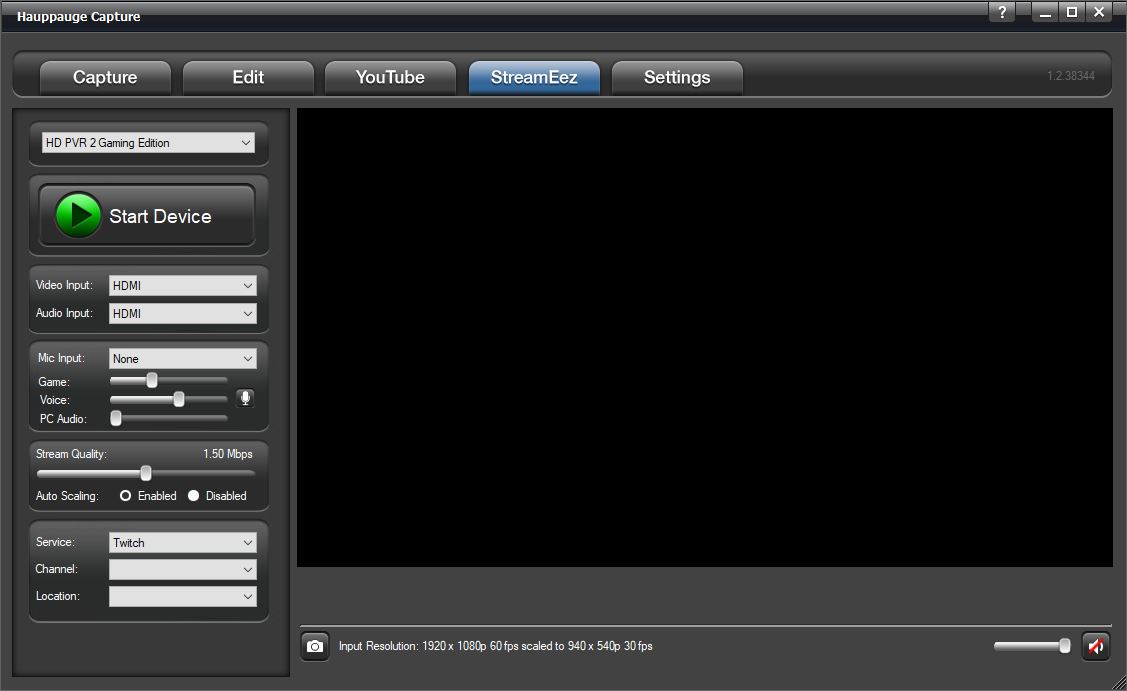
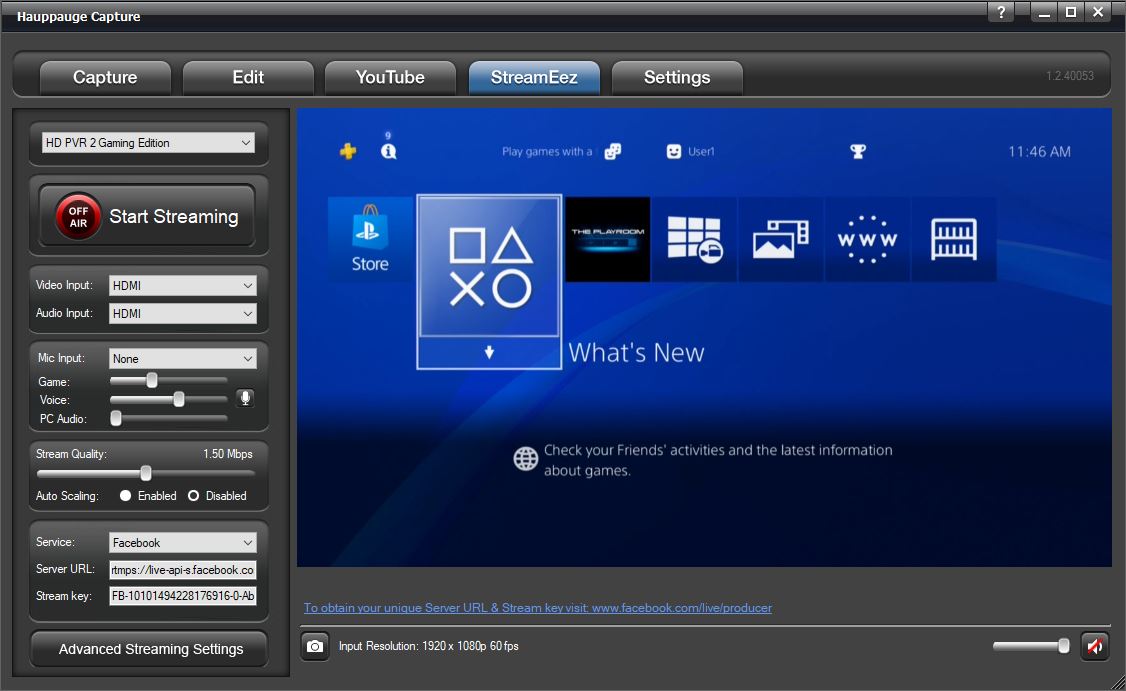
Select the Video and Audio Inputs that you are using and then click Start Device.
Adjust the Microphone Input settings if needed.
Stream Quality: Select the upload bit rate you want to stream at from 0.50 Mbps to 6.00 Mbps.
Auto Scaling: If enabled (default) it adjusts the streaming resolution based on the stream quality. Example 1080p resolution streamed at 0.50 Mbps can't handle 1080p, auto-scaling will change the resolution to 640x360. If you increase stream quality to 2.00 Mbps it will adjust it to 1280x720. If disabled it will attempt to stream at incoming resolution. Also, Advance Streaming will become available.
Service: Select the streaming service, either Facebook, Twitch, or YouTube.
Channel: Select the service Facebook, Twitch, or Youtube.
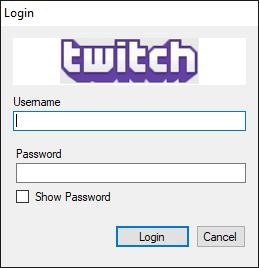
If you select Twitch you will get the following login screen.
Location: Once logged in, it will show you the nearest server that you can connect to for Twitch only.
If you select Facebook, you will need to provide the Server URL and Stream Key.
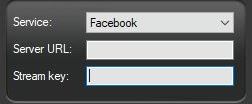
You can get this information by logging into your Facebook account and going to the following link: https://www.facebook.com/live/producer
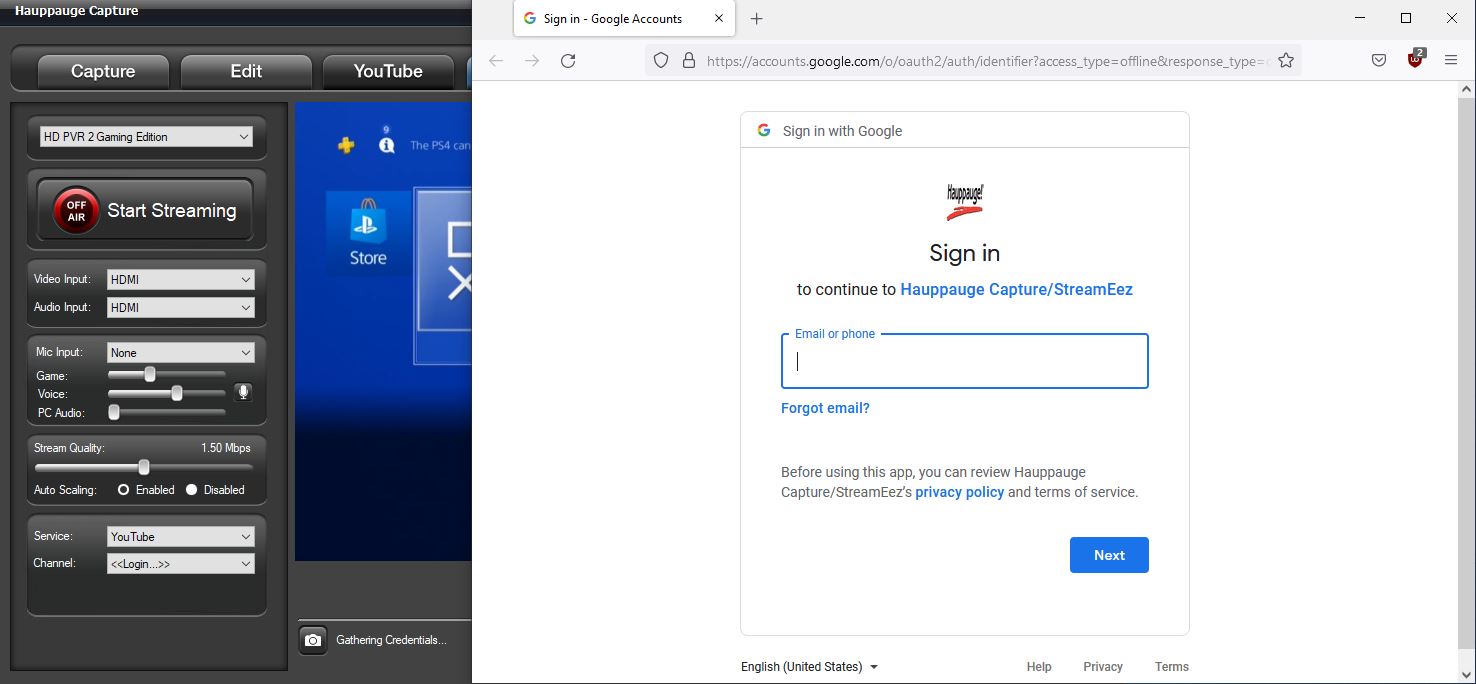
YouTube will open your default browser and ask you to log in to your Google account.
Once you set all your options. You can now press the Start Streaming button.
A link will be provided at the bottom of the software to access your stream or share it with others.

When you are done with streaming you can click on Stop Streaming.
Advance Streaming Settings
When you disable Auto Scaling you will have an Advance Streaming Settings menu available. The advanced streaming settings menu has options for Video Scaler, Audio Encoder, and Microphone. More information about these settings can be found on the Advanced Settings page.